The Main Areas
When you first open the editor, it helps to think in terms of a few core regions.
Menu Bar
The menu bar is where you reach for high-level actions:
- create and open projects
- save scenes and assets
- build and run
- create objects and components
- open editor tools and windows
If you are ever unsure where a feature lives, start here.
Top Toolbar
The toolbar gives you fast access to scene-view tools and play controls.
This is usually where you:
- choose transform tools such as
Move,Rotate, andScale - change scene-view modes
- use the play controls to preview the game
Think of it as the control strip for editing and previewing.
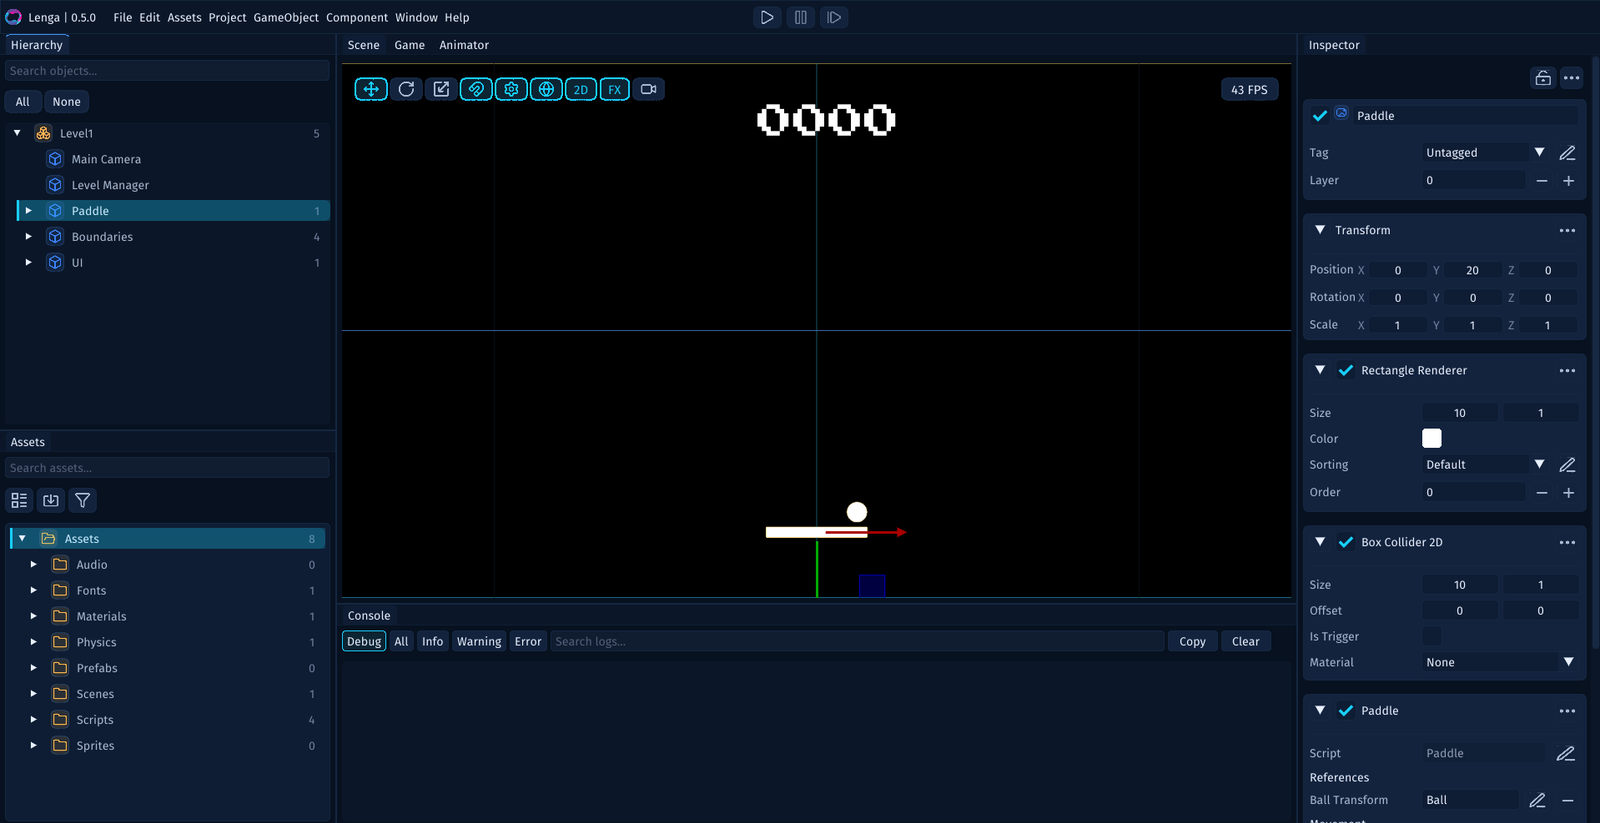
Hierarchy
The Hierarchy shows what exists in the current scene.
Use it to:
- select game objects and UI elements
- understand parent-child relationships
- rename scene objects
- create or duplicate scene structure
If you want to answer what is in this scene right now, the Hierarchy is the first stop.
Scene View
The Scene view is your editing canvas.
Use it to:
- place and move objects
- frame the level while authoring
- paint tilemaps
- lay out UI
- inspect composition without entering play mode
This is where most level-building and layout work happens.
Game or Player View
The Game or Player view shows what the current camera sees.
Use it when you want to verify:
- what the player will actually see
- camera framing
- UI positioning
- runtime presentation
The Scene view is for authoring. The Game view is for checking the result.
Inspector
The Inspector shows the details of whatever is selected.
This is where you:
- edit component values
- assign assets
- tune physics, rendering, and UI settings
- add behaviours and built-in components
In day-to-day use, the Inspector is where most precise property editing happens.
Assets Panel
The Assets panel is your project browser.
Use it to:
- navigate folders under
Assets/ - create scripts, scenes, sprites, prefabs, and other assets
- drag assets onto objects
- organize the project as it grows
If the Hierarchy is what is in this scene, the Assets panel is what is in this project.
Console
The Console is where the editor and runtime talk back to you.
Use it to:
- read
Debug::log(...), warnings, and errors - spot missing references or script issues
- confirm builds and runtime actions
- copy useful error text while troubleshooting
When something feels wrong, check the Console early.
A Practical Mental Model
One simple way to stay oriented is:
Hierarchy: choose the thingScene: place the thingInspector: edit the thingAssets: find or create supporting filesConsole: understand what just happened
That loop covers a lot of everyday editor work.
A Good First Workflow
If you are new to the editor, this is a good first path:
- launch the editor
- open the
Project Hub - create or open a project
- click objects in the
Hierarchy - watch the
Inspectorchange as selection changes - move something in the
Scene - press
Playand watch theGameview andConsole
That small tour gives you a feel for how the panels work together.